


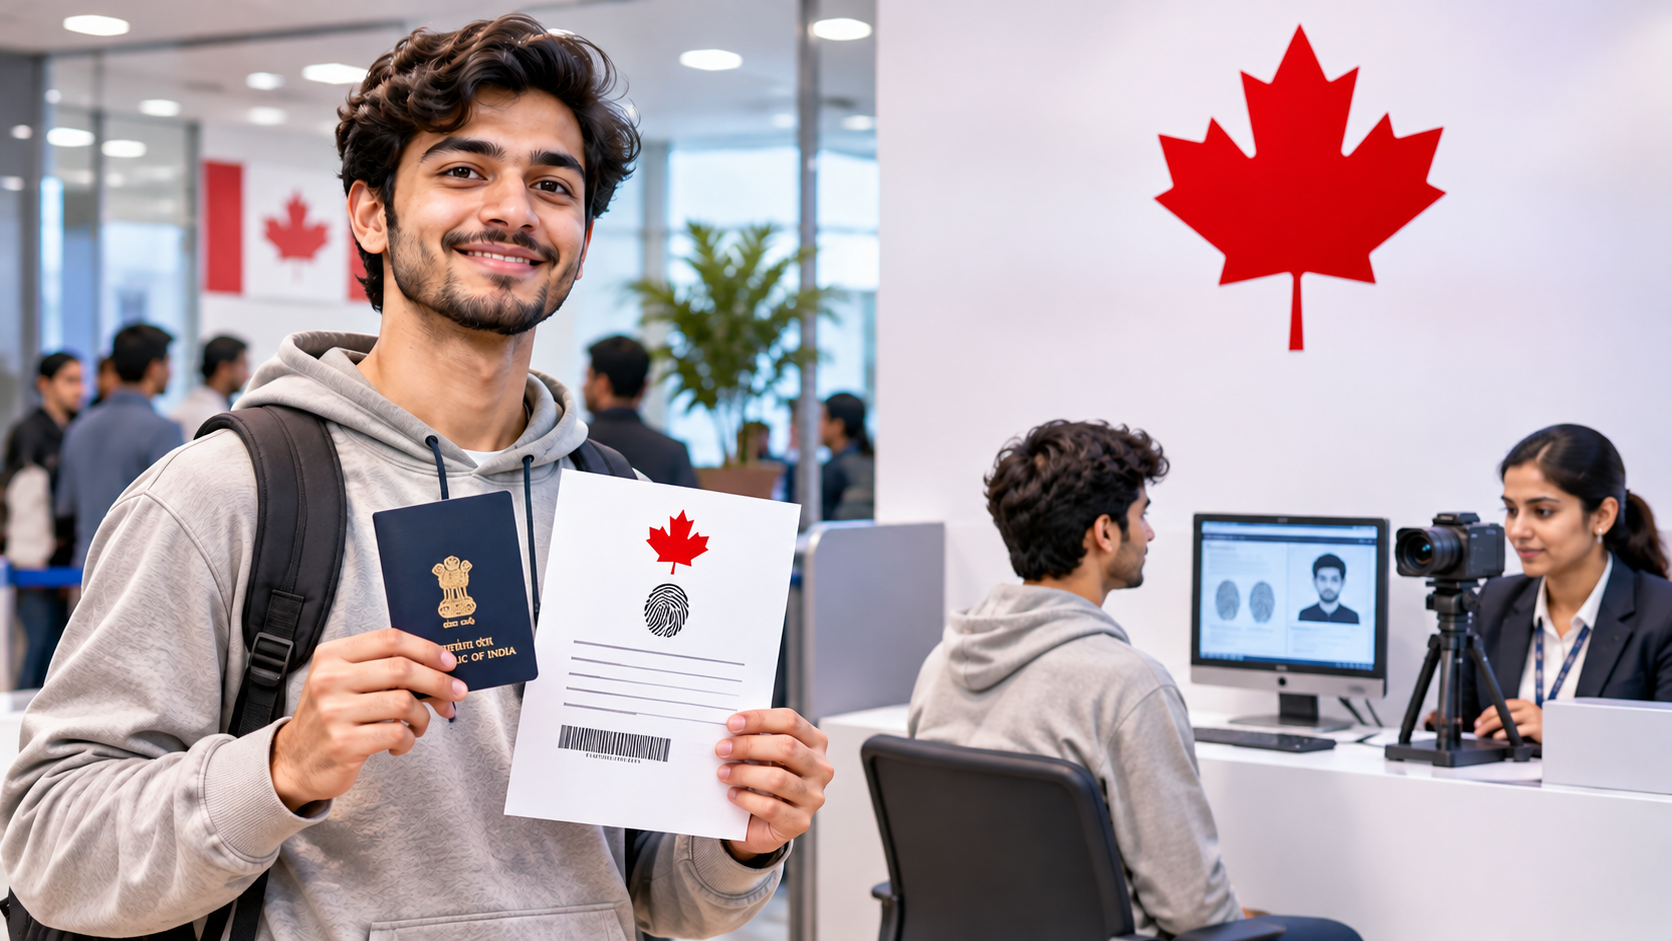
Canada Study Visa Biometrics Process: Step-by-Step Guide for Indian Students
By Mentora Bridge | Study abroad and visa consultants, Chandigarh & Mohali
You have your offer letter, your funds are ready, and the study permit application is finally submitted. Then an email lands saying you must give your biometrics. For many students this is the first time the whole thing feels real, and also the first time they ask: where do I go, what do I carry, and what happens if I miss the date?
Here is the Canada study visa biometrics process explained in plain language, in the order you will actually go through it.
What are biometrics, and why does Canada ask for them?
Biometrics are your fingerprints and a digital photo. Canada uses them to confirm that the person who applied is the same person who later turns up at the airport. Most study permit applicants have to give them, and the government’s biometrics eligibility tool can tell you whether you are one of them.
Two things surprise students. First, you must give biometrics even if you already hold a chip-based passport. Second, once they are on file, biometrics are generally valid for 10 years, so a later visa or permit application may not need a fresh set. Your instruction letter will say clearly whether you need to give them again.
Step 1: Submit your application and pay the biometrics fee
The biometrics fee is CAD 85 per person. You pay it online along with your study permit fee when you submit the application. The fee is separate from the study permit fee, and it is not refunded if your application is refused later. Immigration, Refugees and Citizenship Canada (IRCC) says plainly that you should pay this fee at the time of applying or you may face delays. You can read the official steps on the IRCC page for giving biometrics.
A small tip: do not leave this fee for later. Skipping it is one of the commonest reasons the instruction letter never shows up.
Step 2: Get your Biometric Instruction Letter (BIL)
Once the fee is paid, IRCC sends you a Biometric Instruction Letter. When you apply online it usually appears in your IRCC account message box within about 24 hours, though it can occasionally take longer. This letter does two jobs: it confirms that you need to give biometrics, and it tells you how to go about it. The letter carries a barcode that links your fingerprints to your file, so save it and print a copy.
Step 3: Book your appointment at a Visa Application Centre
In India, biometrics are collected at Canada Visa Application Centres run by VFS Global. Book your slot as soon as you receive the letter. IRCC states that appointments are free to book, but the centre may charge its own service fees for other services, so read the fee details on the VFS Canada India page before you pay for anything extra. The list of centres changes from time to time, so check the current list on the IRCC biometrics locations page and the VFS website, and pick the one that is easiest to reach from Chandigarh, Mohali or wherever you live.
You normally have 30 days from the date of the letter to give your biometrics. Do not wait for the last week, because slots in busy months can fill up.
Step 4: What to carry on the day
Keep it simple. You need:
- Your Biometric Instruction Letter (a printed copy)
- The same passport you used in your application (original, not a photocopy)
- Your appointment confirmation from VFS
It is also smart to keep your application number or UCI handy, in case the staff ask. Reach the centre a little early, and dress simply. Avoid heavy makeup on your hands, mehendi or anything that can affect the fingerprint scan.
Step 5: At the centre
The visit is short. Staff check your documents and identity, scan your fingerprints on a machine, and take a digital photo. You do not need to bring a separate passport photo for this step because the photo is captured on the spot. The whole thing generally takes 15 to 30 minutes, plus waiting time.
If the machine cannot get clear fingerprints, you may be asked to give them again at a later date. That is not a refusal, just a technical repeat. Dry or rough fingertips are a common cause, so moisturise your hands the day before.
Step 6: After giving biometrics
You receive a confirmation receipt. Keep it safe. Your data goes to IRCC, and processing of your study permit continues from there. Remember that the officer does not begin assessing your file until the biometrics are in, so the sooner you finish, the sooner the clock starts. University guides such as the University of British Columbia’s study permit tutorial also tell students to book as soon as the instruction letter arrives.
What if I miss the deadline or cannot get a slot?
- No slots before the deadline: IRCC has said that applicants who cannot book in time can tell them the date of their appointment and upload a screenshot of the booking confirmation through the web form. Check the IRCC page for the current instructions.
- Deadline already passed: Your application may be treated as incomplete or even refused. Contact IRCC through their web form immediately and explain the reason.
- Lost letter: Log in to your IRCC account and download it again from your messages.
- Wrong or expired passport: If the passport details do not match your application, tell IRCC before you go, not after.
Common mistakes students make
- Forgetting to pay the biometrics fee
- Going without a printed letter
- Carrying a different passport from the one in the application
- Waiting until the last few days to book
- Assuming the VFS appointment is the same as a visa interview (it is only for fingerprints and photo)
Quick checklist
- Biometrics fee paid (CAD 85)
- BIL downloaded and printed
- Appointment booked within 30 days
- Original passport
- Appointment confirmation
- Receipt saved after the visit
Need help with your Canada application?
Biometrics is just one step in a long file. At Mentora Bridge, we guide students through the full journey, from choosing the right program and writing a strong statement of purpose to preparing documents and keeping track of every deadline. If you are still deciding your course or country, our career counselling can help you choose with clarity. Want to speak to someone right away? Contact our team.
Planning a short trip first? We also handle the Canada tourist visa. More guides are available on our blog.
Frequently asked questions
How much is the Canada biometrics fee? CAD 85 per person for most applicants, paid online with your application.
How long do I have to give biometrics after getting the letter? Generally 30 days from the date on the letter. Always check the exact date on your own letter.
Do I need an appointment? Yes. Booking is required, and you should do it as soon as you receive the instruction letter.
Can I give biometrics at the airport in Canada? Not if you have received a biometric instruction letter. In that case you must give them before you travel.
How long are biometrics valid? Generally 10 years, but your instruction letter will tell you if you need to give them again.
Is biometrics the same as the visa interview? No. It is only fingerprints and a photo. It has nothing to do with questions about your studies.
Disclaimer: Fees, deadlines and procedures are set by IRCC and VFS Global and can change. Always confirm the latest details on canada.ca and your own instruction letter. This article is general guidance and not legal advice.

 Mentora Bridge empowers students and professionals with expert mentorship, global education guidance, and career-focused support to help them confidently take the next step toward their future.
Add a comment